5 Mark Making Exercises to Jump Start Your Art
“Drawing is like making an expressive gesture with the advantage of permanence.”
As I continue the arduous task of moving my blog post from one blog to another, I’ve come across many gem posts. This post has likely been shared with you before if you’ve taken a workshop with me in the past. Finding it again comes at an excellent time as I prepare to begin my Mark-Making as Practice Class in January 2024 and will give those who have signed up and those who are still on the fence a sampling of the prompts you may encounter during class. You will receive 3 prompts per class for 12 weeks—that’s 36 prompts to keep you inspired and making marks for a really long time!
If you’ve taken a workshop with me in or spent any time longer than a few minutes with me when I’m in teaching mode, I probably encouraged you to draw at least 5-15 minutes a day. Over the years, I have received many requests for suggestions on how to get started. Even if you think you can’t draw, think you don’t know how or just stubbornly refuse, these 5 exercises will help. But before I discuss the How, I would like to discuss the What and Why I feel you must draw everyday.
The What…let’s take the word ‘drawing’ out of this article for now because it tends to scare people. When I’m teaching, I use the words drawing and mark-making interchangeably because for my purposes they are the same thing with only very slight differences. Think of it this way…a mark communicates a word and a drawing expands that word into a sentence…a poem…a sonnet. As artists, whatever we do in the course of making work begins as a mark on a surface made by one human to be interpreted by another in an effort to communicate. Mark making is expressive, gestural, emotive and works of art that contain such marks are the ones I will cross the room to view-they literally speak to me without words, they communicate. No matter what kind of work you make or in what medium, understanding your mark, what it is and how to make it, will make you a better communicator through that work.
The Why…Critic Lance Esplund writes, “Line is a rich metaphor for the artist. It denotes not only boundary, edge or contour, but is an agent for location, energy, and growth. It is literally movement and change – life itself.” This quote speaks to lines specifically, but for the purposes of this article, we’ll think of marks and lines as one in the same. The mark adds the lifeblood to the work that sets it apart from anyone else’s. Your personal mark or gesture is literally as unique as your signature and practicing making marks everyday is the only way to find that mark. When you practice moving those parts of your body and brain required to make a drawing, everything else in your art making process flows much more smoothly. How many times have you entered the studio cold and stiff from not working and end up puttering around wasting time? Or picked up a paintbrush, but just couldn’t make the paint say what you wanted? The more marks you make and the more frequently you make them, they become indelibly written on your brain, your movements in the studio become more practiced and you will approach the work with confidence and knowing. I’m not saying that drawing everyday will rid you of all the struggles us artists face in the studio, but I absolutely guarantee that it will get you moving faster and in the right direction toward your goals.
The How…Now for the fun part. Your daily drawings can be made with any media on any substrate and inspired by any subject. I like to give myself ‘projects’ in which I work on a series of drawings inspired by one thing with the same media for one month. This offers me a chance to work out every angle of a certain subject and/or experiment with new media. At the end of the month, I also have a series of drawings that may be strong enough to show. Visit this post to read about one of these drawing series’ of mine. You can choose to work with monthly projects or you can draw something different everyday, the point is to make marks daily for 5-15 minutes. For those of you who think you’re too busy to spare this time, I suggest ithat you always have a sketchbook and drawing tools with you in your bag because you may have more time than you think…on the bus/train, waiting at the doctors office, waiting in line at the food store. It’s almost depressing how much time we spend waiting so why not do something constructive while you’re at it. Last, don’t forget to set that timer! I’m a stickler about setting the timer for daily exercises like this and I explain a bit about why in this post. Understand that the timer will create a time-space for you to focus only on what you’re doing. For that short time, you don’t have to think about or do anything else but draw.
The following drawing ideas are tried and true-a few have been used in art schools for centuries and a few I’ve modified and used over and over in my workshops. Once you start, your creative brain will begin to flow with many of your own ideas.
The Ideas
Blind Contour Drawings If you went to art school, you probably went blind making blind contour drawings-they are used so much as a learning tool and that is because they are so helpful. Start by staring at an object in front of you for one minute. Then close your eyes and imagine the object in your minds eye…try to see its color, its form, its texture, it’s scale. Then open your eyes and look at the object in front of you. How does it look? Try to spend two minutes (or longer) just looking at the object, examining it in great detail. Then close your eyes and draw it continuously, keeping your eyes closed for a full two minutes. Don’t lift the pencil or open your eyes until your full two minutes are up. If you ‘finish’ drawing your object under two minutes just draw it again. If you find you can’t help yourself from cheating, wear a blindfold. Do this with the same object over and over, or try different objects in order to fill your 15-30 minutes. Another variation is to begin with the blind contour and then with your eyes open, ‘connect’ the sketchy lines you drew to make a new drawing.
Opposites Make drawings in pairs which express opposite adjectives. For example, make a drawing which is noisy in as many ways as possible – your pencil should make a lot of noise as it vigorously scribbles and scratches across the page, and the finished drawing should be noisy in the way in which it communicates. Then take a breath and make a very quiet drawing. Your pencil should hardly touch the paper (imagine it’s the tip of a feather). Hold your pencil far away from the drawing end so you cannot apply too much pressure. Hush your pencil as you draw, and let the end result be a very shy drawing. Enjoy the differences between the two drawings – let your ideas bounce off each other. Push yourself to extremes of noisy and quiet.
Words Choose 5 words randomly from the dictionary and either write them at the top of the page or begin with a drawing of the word itself. I use Design Language by Tim McCreight in my workshops because the words in it lend themselves to visual inspiration. Working on the same paper, spend one-2 minutes interpreting each word with marks. Let each word’s marks intertwine and overlap. Take this drawing a step further and add more marks, collage or stitch to make it a cohesive drawing.
Music This idea comes from one of my favorite artists, Wassily Kandinsky, who believed that colors and marks in paintings created visual ‘chords’ which resonated in the viewer. A must read for any artist is Concerning the Spiritual in Art by Kandinsky in which he writes in depth about the essence of expressionism in painting. Create a playlist of 30 seconds of 20 different songs ranging in tempo, style, genre, etc. Using a large piece of paper on the floor or taped to the wall (must be positioned so that you can use your body expressively) and gather 5 different drawing tools near you so you can switch if you’d like. Turn on your playlist so the songs play successively with only 3-5 seconds between each. Respond to each song with marks and allow the marks to overlap and intertwine. At the end of the playlist, the drawing will likely look like a bunch of scribbles, so what you want to do next is isolate certain areas to use for inspiration. Cut a rectangle out of a piece of paper and float this frame over the drawing. As you do this, you’ll find so many great ideas for marks that you can trace and use in paintings. Another variation is cut up your large drawing and scatter the cut outs onto another large piece of paper. Experiment with with creating new distances between the cut outs, turn them upside down or rip them in half. Begin drawing new elements and shapes in between the old ones to create a new drawing. Forget your original drawing and think about new meanings which might be created, think about how the new drawing might be interpreted.
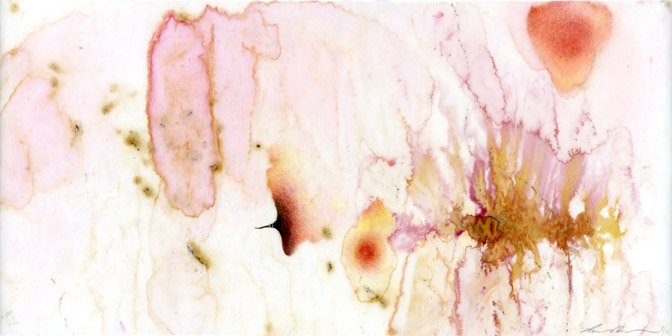
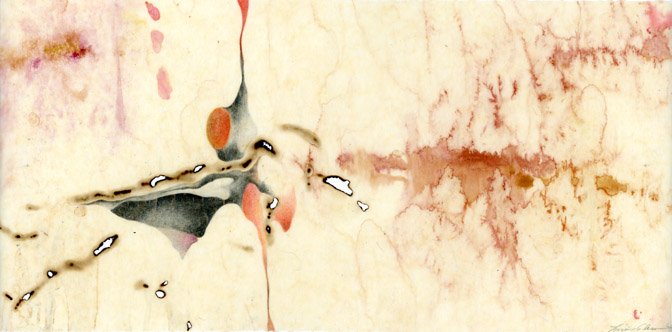
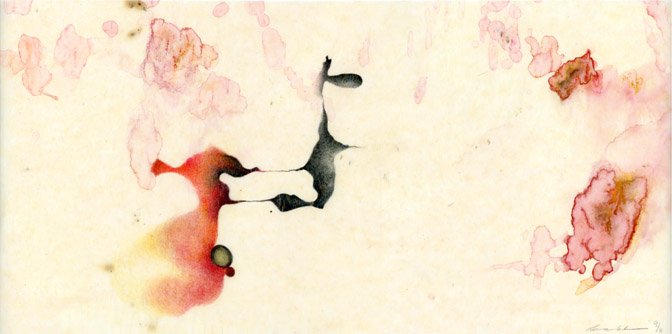
Response This is my personal favorite method to begin a drawing and I have completed many series this way. ‘Response Drawing’ is a term I coined in one of my workshops and it just stuck. Response drawings are basically just as the words describe… it is a response to marks either you or someone else made intentionally, accidentally or found. Responding to marks that are not yours encourages you to expand your mark making vocabulary by making marks you aren’t normally inclined to make. There are many ways to begin a project like this but the basic premise is to begin with some kind of mark on a substrate-it could be a splash, a pour of paint, a burn, a footprint, rust print, transfer print, a mistake. It could be something you found in the trash, a folded or cut piece of paper, crushed pencil shavings, anything! It could be a project between you and a friend in which one of you makes a mark and the other responds. This actually has a name -Exquisite Corpse- a term and game invented by surrealist creatives. I’ll be writing a more in depth post about Exquisite Corpse, but in the meantime you can read about and see some examples of them here. However your first mark is generated, the next step is simply to respond to it in any way you want. The image at the top of this page is from a series of drawings from 2005 called ‘Flesh’ in which I started with tracing paper that had been burned and splashed with watercolor and I then responded with organic forms drawn in graphite and colored pencil. See more from this series in the images below. Please keep in mind that this is a REALLY old series of drawings and I’ve completed many response series’ since. After finding this post, I was feeling nostalgic so I included this series to complete the memory.
If this post was helpful to you, please let me know, I invite your comments questions and suggestions in the comments.


